A Derby Magic track is built to go together the same way every time, with basic hand tools and a little space. Here’s the whole process — plus how to tear it down and store it for next year.
Before you start
- The track and its boxes, plus the step-by-step instructions that ship with every track.
- Basic hand tools: a Phillips and a flat screwdriver, and a small set of wrenches (3/8-inch, 1/4-inch, and 5/16-inch). Keep them in the track box so they’re always with it.
- A level floor and enough clear length for the track plus staging and braking room — check the dimensions guide and our space notes.
- A helper. One person can manage, but two make it faster.
Step by step
- Set up the support frame first. Get it stable and roughly level before any track goes on top — everything else references the frame.
- Lay out the sections in order. Each track section is lettered (A, B, C…) on the underside; set them along the frame in sequence so the joints line up.
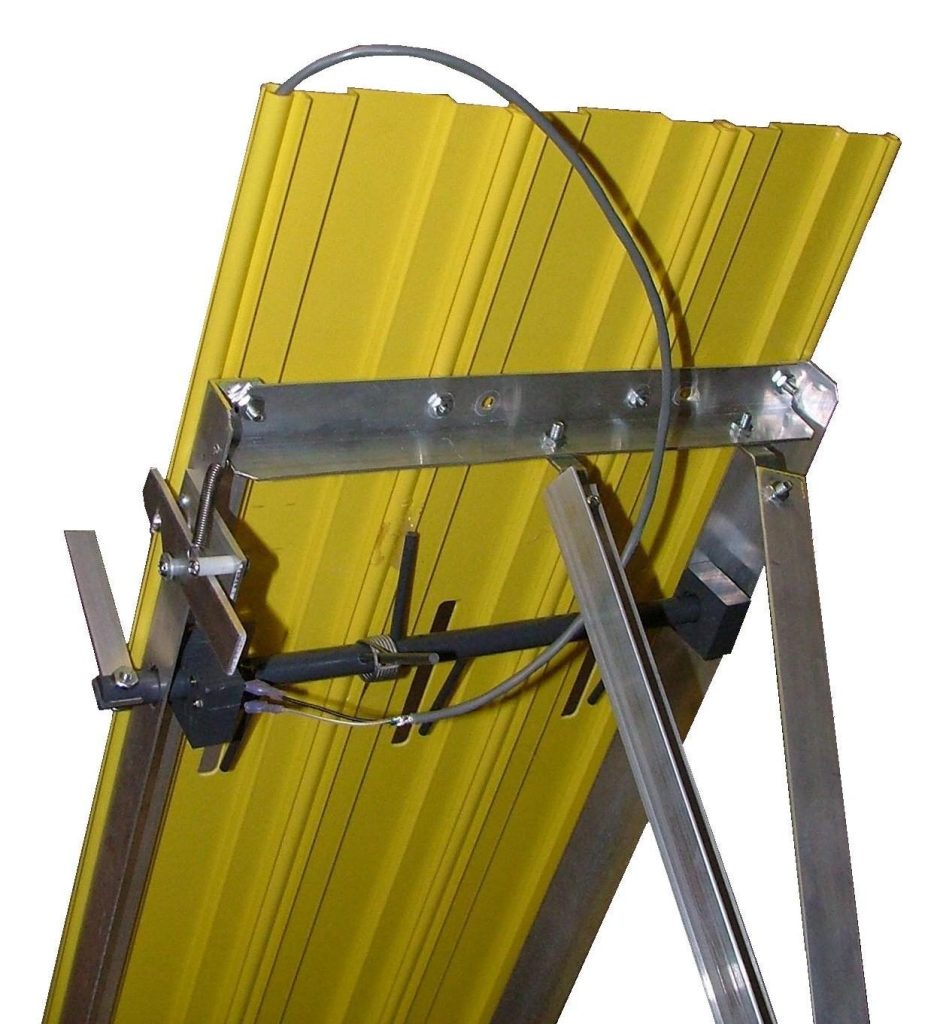
- Join the sections. Slide each section into the next and secure it with the screws and fender washers that come with the track. The connector nuts are pressed into the plates at the factory, so alignment is straightforward — the pieces only go together one way.
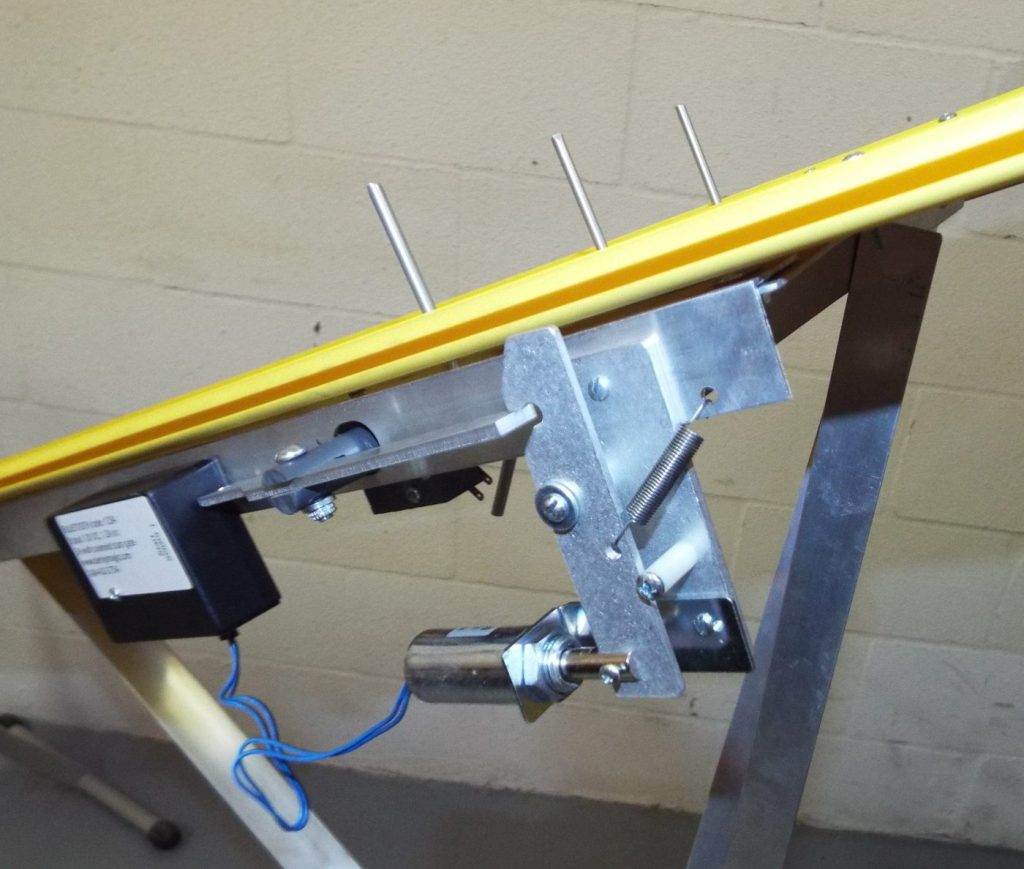
- Attach the start gate at the top end, following the instructions for your gate (manual, solenoid, or wireless).
- Attach the brake section at the finish end — it slides under the last section and secures with a couple of screws, and it’s what safely catches the cars.
- Connect the timer and finish line and link it to your laptop and race software, then run a few test cars to confirm every lane reads.
Alignment tips
- Start from a level floor; shim the frame feet if your gym floor dips.
- Seat every joint fully before tightening — a gap at a seam is what makes a car hop.
- Sight down the track from the start to confirm the lane guide runs straight.
- Always run test cars down every lane before you open registration.
How long it takes
Give yourself unhurried time the first time — learning the order is most of the work. After a race or two, a two-person crew has setup down to a quick, predictable routine. The key is to never let race morning be the first time you assemble the track; do a full practice setup beforehand.
Teardown and storage
Reverse the steps and pack the sections back into their original shipping boxes — they’re sized to hold the pieces safely. Store the track in a cool, dry place. PVC won’t warp from dampness the way wood does, but a climate-controlled spot protects the electronics and keeps everything race-ready. If the track has been somewhere very cold, let it warm to room temperature before your next setup.
Frequently Asked Questions
What tools do you need to set up the track?
Just basic hand tools: a Phillips and a flat screwdriver and a small set of wrenches (3/8-inch, 1/4-inch, and 5/16-inch). The sections connect with screws and fender washers that come with the track, and every track ships with full step-by-step instructions.
How long does setup take?
The first setup takes longest while your crew learns the order; after a race or two a two-person crew has it down to a quick routine. Give yourself unhurried time before your first event and run a few test cars first.
Can one person set it up?
Because the PVC sections are lightweight, one person can carry and position them, but two people make assembly faster — especially for aligning longer tracks and attaching the start gate.
How do you store the track between races?
Pack the sections back into their original boxes and store the track in a cool, dry place. If it’s been somewhere very cold, let it warm to room temperature before the next setup.